We didn't work Wed this week, as it was my youngest
daughter's 16th birthday. We talked it over and agreed it was more
important to spend the night with my family on the sweet 16 night than
build on an airplane. So we postponed the building one night.
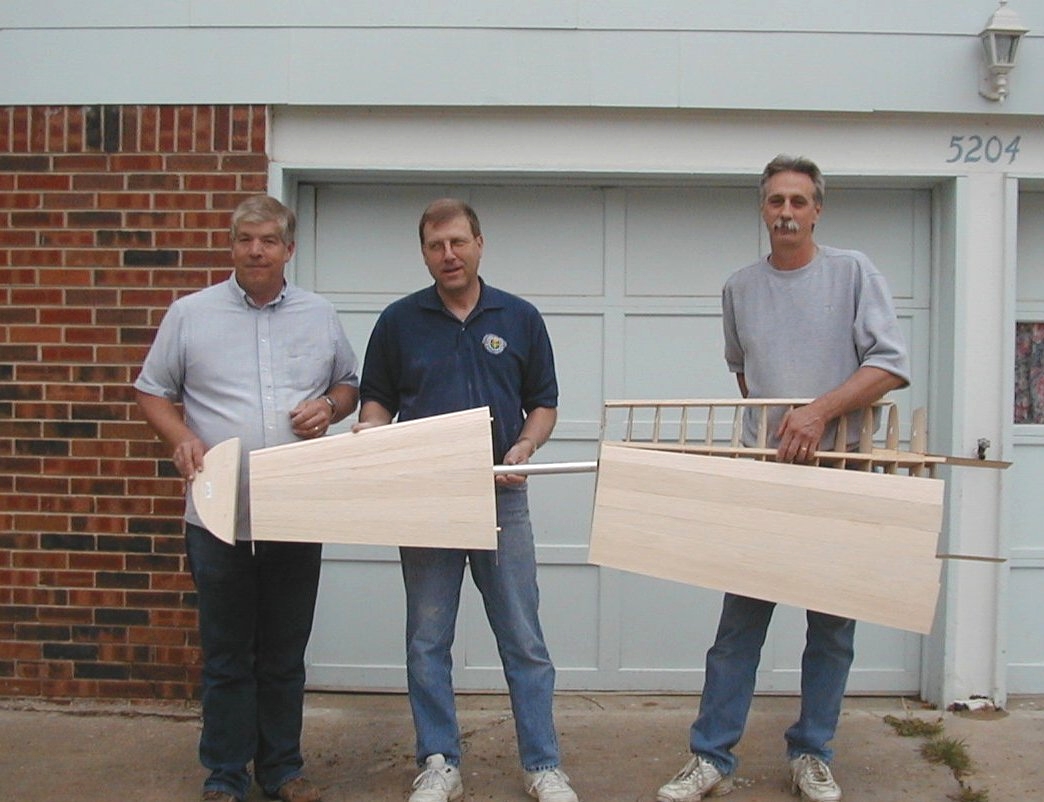
After tonight's work was done and pictures were taken, Greg commented that
he thought we were doing extremely well. We have been working
together now for five months and we still have smiles on our faces and
nobody's neck is in the hands of our buddies.
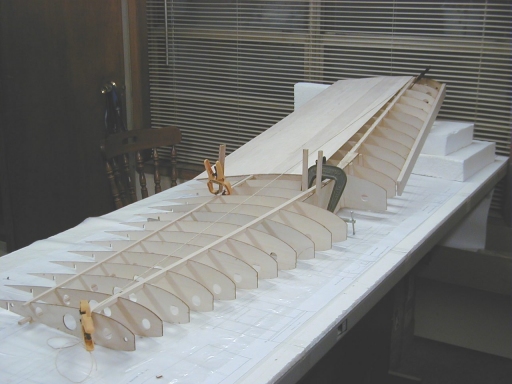
Well down to the report. At the end of the night wing rib 1 is still
floating. First thing done was to separate the port outboard panel
from the inboard panel, while leaving the outboard panel pinned to the
table. Greg took the inboard panel and installed filler blocks
between bottom center spar and dihedral brace between ribs 2 & 3 and
ribs 3 & 4. Next he added the shear webs to the same area.
Rick & Gary took the outboard section and sanded the rear top spar
flush to the wing ribs. Next they sheeted the entire top section.
Now we lift off table and fish out the t-pins used to hold panel down.
Next we installed the front sheet only, to the bottom of the
outboard port panel. In our continuing theory of leaving decisions
regarding servos etc for latter we will not do any more sheeting to the
bottom of this panel for now.
Greg & Rick now work on the inboard panel on the center (rear?) spar.
It also needs sanded down flush to the wing ribs. Gary
takes the outboard panel and razor planes the leading edge down flush with
the sheeting both top & bottom and sands both ends flush to the inner
and outer most ribs.
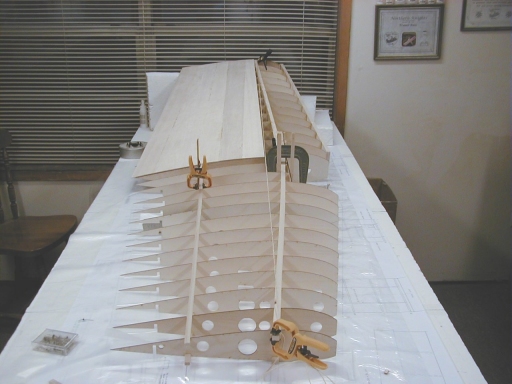
We all then sheet the inboard panel, on the top from the rear to near the
front spar, then sand sheeting flush with the outer most rib. We
will not do any more sheeting on the inboard panel until we get the
starboard panels built and the nacelle structures figured out.
We fit the inboard and outboard panels backed together. The fit is
perfect so we take pictures and call it a night.
Next week we will start building the starboard inboard section to the
existing port inboard panel. Some thing I started doing few
weeks ago, was to make a list of what needs to be done during the next
build session. This seems to help us make the most our of our
building time. The list is relatively easy for me do since it is in
my house. Although I don't build on the plane without the others, it
is hard not to think about what needs done. -- Gary Himes
Week 22 -23 April 2003
First thing done was to weigh the wing assembly. The
weight was 4-1/2 lbs as pictured in the last report.
Since rib 1 is still floating, we used a scrap piece of lumber to hold rib
1 in the proper location, and trimmed/sanded the spars and sheeting flush
to rib 1. The front and rear spars were pinned to the table and ribs
4 thru 14 were placed on the spars. Ribs 1 thru 3 had to have the
nose cut off as we did on the port side. A plywood doubler was glued
in place between the two number 2 ribs.
Ribs 1 thru 3 were installed to the existing port side assembly dihedral
brace. Now the port side inner panel was blocked to the proper
height and put in place to the and the top front & rear spar were
installed.
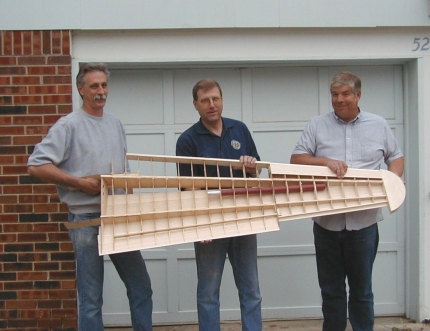
It sounds like an easy step to line up the port side to the starboard
side. In reality this took a lot of struggling, cussing,
thinking, cussing, figuring and still more cussing till we got every
thing lined up as it should be. There is some serious stress on the
dihedral braces to get everything lined up as it should be. We
triangulated and checked everything. It all looks perfect, but we
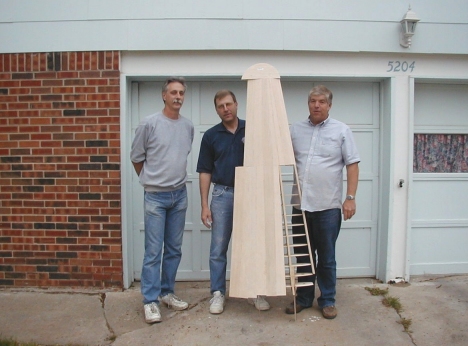
did not glue anything. We took pictures and weighted everything to
prevent warping, then called it a night.
Next week Rick is going to bring his laser level to allow us to make a few
more checks. If we are still happy we will start gluing everything
together! -- Gary Himes