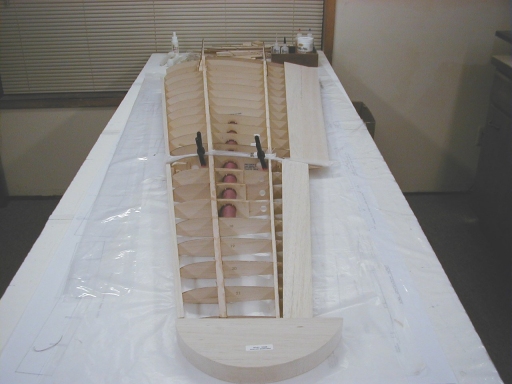
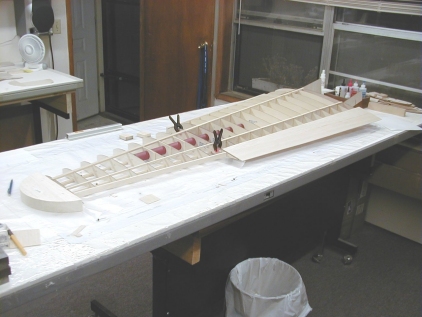
Tonight was a night of good visual progress with lots to
write about so here we go! First we added another sheet of sheeting
to the inboard rear port wing panel. Next we glued in the nose ribs
2 & 3 (rib 1 is still floating). We feel that great strength is
needed here so we added
3/8 triangle stock at rear of nose ribs where they attach to the dihedral
brace. Now we removed the wing panel from the building board and
sanded everything flush to the futherest outboard wing rib( rib 14 inner).
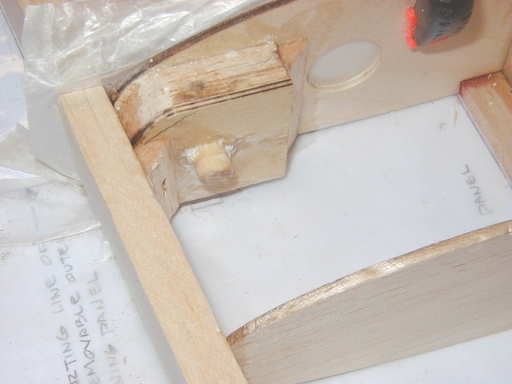
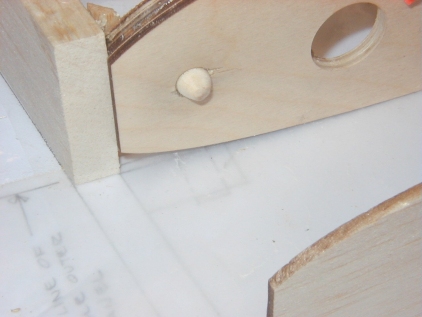
Next we cut & installed an aircraft ply doublers to the areas where
the outboard wing panel dowel pins will insert. The plans call for
this doublers to be balsa. We are trying to be weight conscious,
however some places we just feel the strength is more important. Now
we drill the 3/8" hole thru the doublers using rib 14 as the
template. We dig out the dowel for a trial fit and found it to be
way loose. Measuring of the dowel proves it is .020 under size
so in the trash can it goes. Checking my personal stock I found a
3/8 dowel and try to fit it. The fit is perfect.
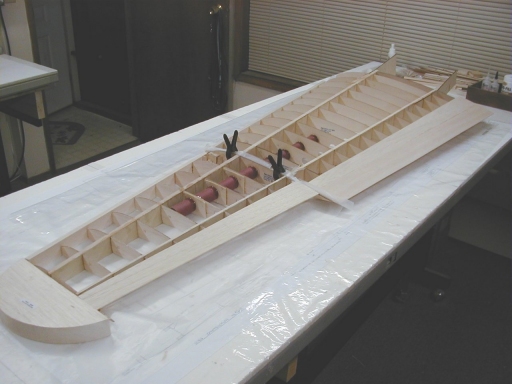
We repined the wing panel to the building table and find the parts needed
for the port outboard wing panel. Inspection showed servo wire lead
holes would be needed in ribs 14 outboard thru rib 17, so we laid them out
and drilled them. Next we laid out the ribs on the plan and
noticed the trailing edge portion needs cut off for the ailerons. As
complained about in the past, there is no marks on the ribs for where to
cut. So out comes the rib details sheet of the plans and the above
is marked and cut off . We also mark and bag the pieces so we can
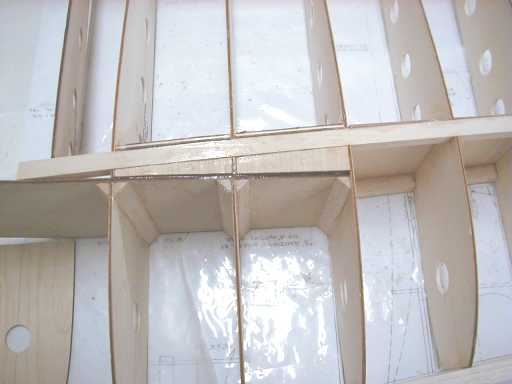
find them latter . We started to fit things together again and found
the wing tube holes in ribs 15, 16 & 17 to be excessively large, so we
decided to make lite-ply doublers for this area which fit tight to the
tube.
We next made the decision to (for now) install the outboard rib 14 to the
inboard rib 14 using only the dowels and the wing tube, otherwise it is
floating in respect that we are not gluing the spars to outboard rib 14
just yet. This should allow any last second minor adjustments that
may be needed. Next we fit all the ribs and spars together.
Things are now aligning properly and looking good. We glue the
rearmost balsa spar in place and call it a night without gluing anything
else.
When I logged our time tonight I found out this is the last entry on the
first page of the log book. Total time todate is 174 man-hours.
-- Gary Himes
Week 20 - 9 Apr 2003
Well this is the week of low visual impact, however a lot
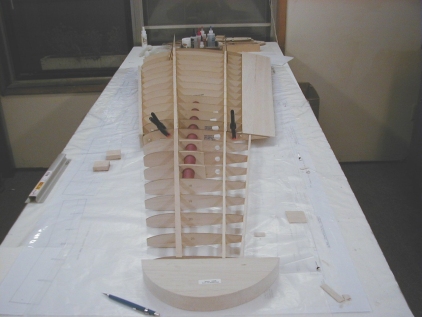
of work was done. Rick & Gary installed the shear webs in the
port outboard wing section and glued all the ribs in place, excluding rib
14 which is still floating. Meantime Greg worked on the port inboard
wing section installing hardwood filler blocks between the main spar and
the dihedral brace. Next, Greg installed the main spar dihedral
braces between ribs 2 & 3 and 3 & 4.
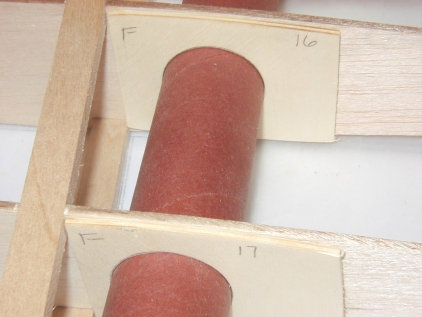
We then spot glued the wing tubes in both inboard & outboard port wing
sections using thin CA glue. Next we installed the balsa/ply
sandwich which holds the outboard wing dowels in place.
With the outboard section still pinned to the table, we unpinned the
inboard section and removed it from the assembly. We took wax paper,
placed appropriate holes for wing tube and dowels, and taped it to the
inboard section. Next, we clamp the outboard rib 14, to the inboard
section, which was floating aligning using the dowels. Now insert
metal wing tube into holder and slide assembly back together and repin to
table. Alignments are checked and rib 14 no longer is floating as we
glued it into place. Outboard section shear webs are installed
between rib 14 & 15, then leading edge is glued into place.
Being afraid of the wing dowels loosening and falling out we drill a 1/8
dia hole thru the balsa part of the sandwich and thru the 3/8 dia wing
dowel. This allows us to glue in a 1/8 dia dowel which will
positively lock the 3/8 dowel in place. Since we are paranoid we
also added some tri-stock around the sandwich.
The outboard rear most spar is rectangular balsa and sticks above the ribs
slightly so sanding is required to follow the contour. Tri-stock is
added rearward of this spar to help support the sheeting, as the sheeting
extends beyond this area. Again sanding is required to maintain the
contour. We install the rear most sheet of sheeting and call it a
night.
-- Gary Himes